
How to Install Ruckus Wireless Network Equipment: A Step-by-Step Guide for Small Businesses
Understanding Ruckus Wireless Network Equipment
Small businesses aiming to improve their network infrastructure often turn to Ruckus Wireless for its robust and reliable equipment. Known for its high performance and scalability, Ruckus Wireless can be an ideal solution for businesses looking to expand their wireless capabilities. Whether you're setting up a new network or upgrading an existing one, understanding the key components is crucial. Ruckus offers a range of products including access points, controllers, and switches that work seamlessly together to deliver optimal performance.

Pre-Installation Considerations
Before you dive into the installation process, it's important to assess your business needs and determine the scope of your wireless network. Consider factors such as the size of your space, the number of users, and the types of devices that will be connecting to the network. This information will help you select the right equipment and plan the placement of access points to ensure comprehensive coverage.
Additionally, ensure that your network infrastructure is capable of supporting the new equipment. Check that your internet connection is stable and sufficient for the expected load. Finally, confirm that you have all necessary hardware components, such as mounting kits and cables, on hand before starting the installation.
Step-by-Step Installation Guide
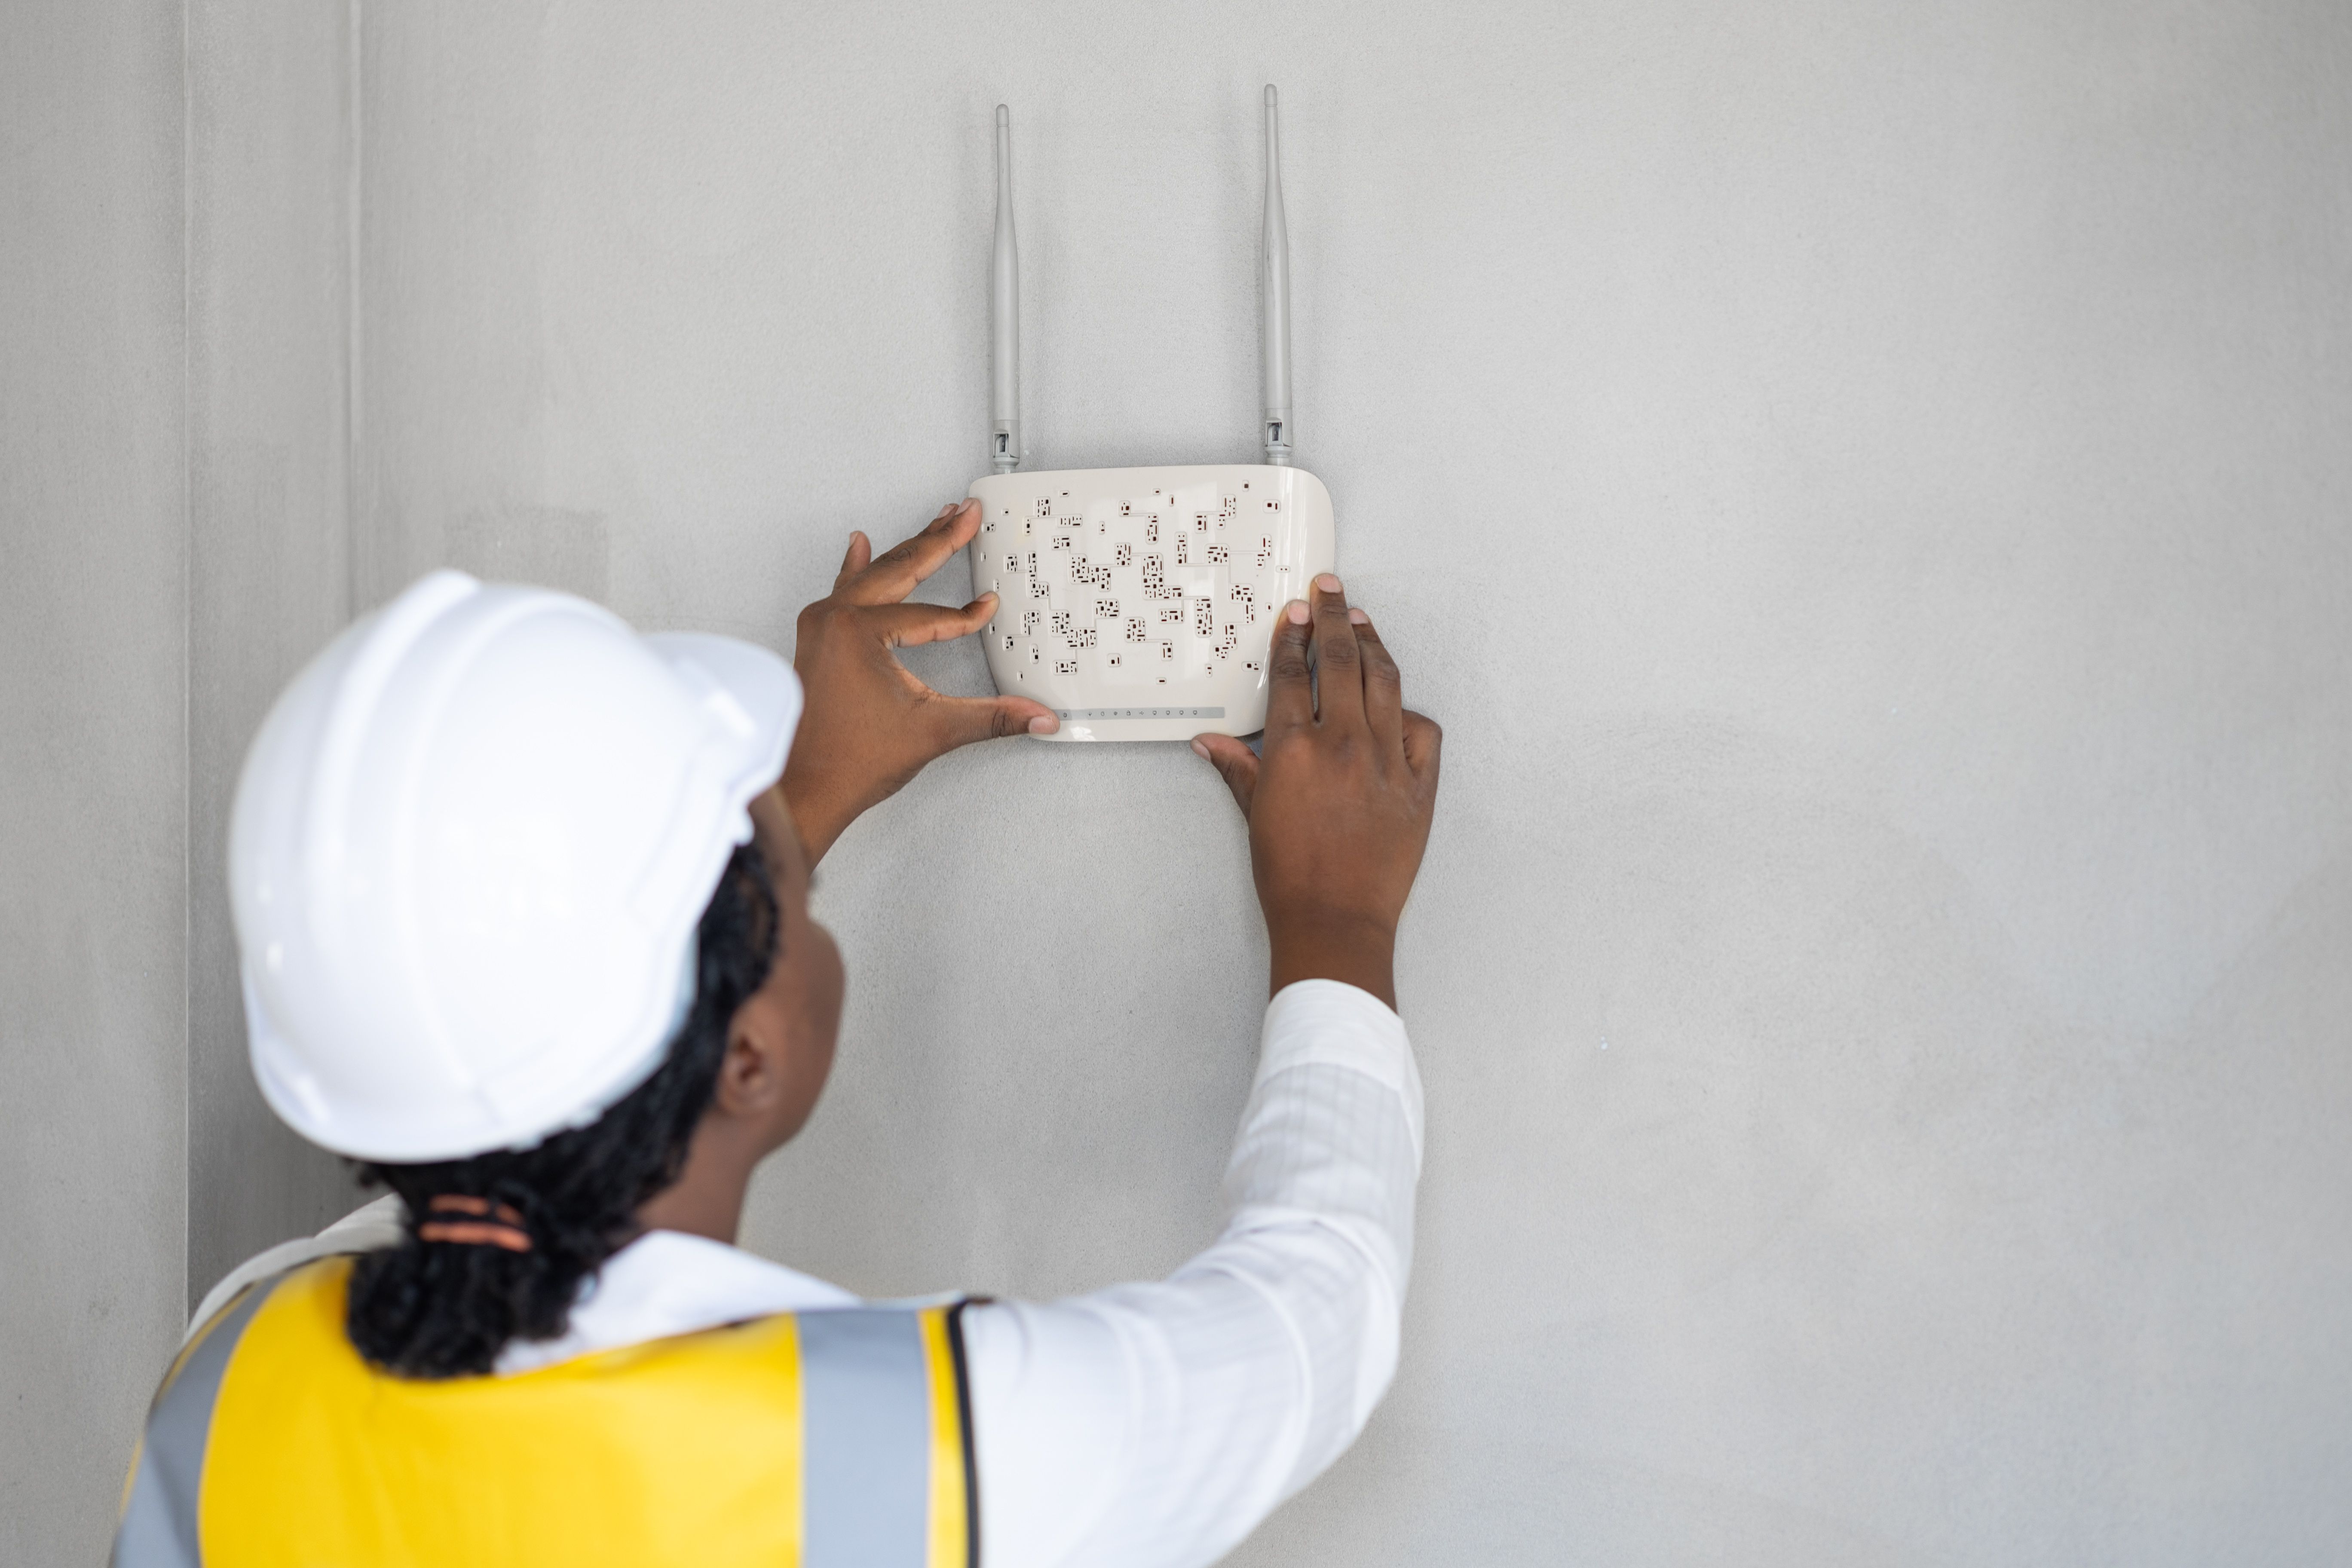
1. Setting Up the Access Points
The first step in installing a Ruckus Wireless Network is setting up the access points. These devices are crucial as they broadcast the wireless signal throughout your space. Follow these steps:
- Identify optimal locations for each access point, ensuring they are evenly distributed for maximum coverage.
- Mount the access points on walls or ceilings using the provided kits.
- Connect each access point to a power source and your network using Ethernet cables.
2. Configuring the Network Controller
The network controller is the brain of your wireless network, managing all access points and ensuring seamless connectivity. Here's how to configure it:
- Connect the network controller to your network via Ethernet cable.
- Access the controller's web interface through a computer connected to the same network.
- Follow the on-screen instructions to configure settings such as SSID, security protocols, and user permissions.
Troubleshooting Common Issues
Even with careful planning, you might encounter some common issues during installation. If you experience connectivity problems, ensure that all cables are securely connected and that access points are properly powered. Additionally, check the controller settings to verify correct configurations.
If your network coverage is insufficient, consider adjusting the placement of access points or adding more units to eliminate dead zones. Regularly updating firmware can also resolve performance issues and improve security.

Ensuring Network Security
A secure network is vital for protecting sensitive business data and maintaining user privacy. Implement robust security measures such as strong passwords, encryption protocols like WPA3, and regular network audits to identify potential vulnerabilities. Educate employees on safe online practices and establish protocols for managing guest access to maintain security integrity.
By following these steps and guidelines, small businesses can efficiently install Ruckus Wireless Network equipment and enjoy a reliable, high-performance network that supports their operational needs.